The ESP32-S3 is a powerhouse for IoT, featuring dual-core processing, AI instructions, and robust WiFi + Bluetooth. While Arduino C++ is popular, MicroPython has become the go-to for rapid prototyping. It allows you to run Python scripts directly on the hardware, offering an interactive REPL (Read-Eval-Print Loop) for instant feedback.
Why MicroPython?
MicroPython is a lean and efficient implementation of the Python 3 programming language that includes a small subset of the Python standard library and is optimised to run on microcontrollers.
- Interactive: test code line-by-line without compiling.
- Readable: Python’s clean syntax makes complex logic easier to manage.
- Powerful libraries: built-in support for networking, file systems, and hardware peripherals.
Step 1: Installing the firmware
Before you can write Python code, you need to replace the factory firmware with the MicroPython interpreter.
Flashing via Web Serial (easiest)
The easiest way to flash MicroPython is using the official MicroPython download page. Recent versions support Web Serial flashing directly from Chrome/Edge.
- Hold the BOOT button on your S3 board.
- Connect it to your PC via USB.
- Release BOOT. (This puts it in Download Mode.)
- Select “Install MicroPython” on the website and follow the prompts.
Step 2: Your first script (Hello World)
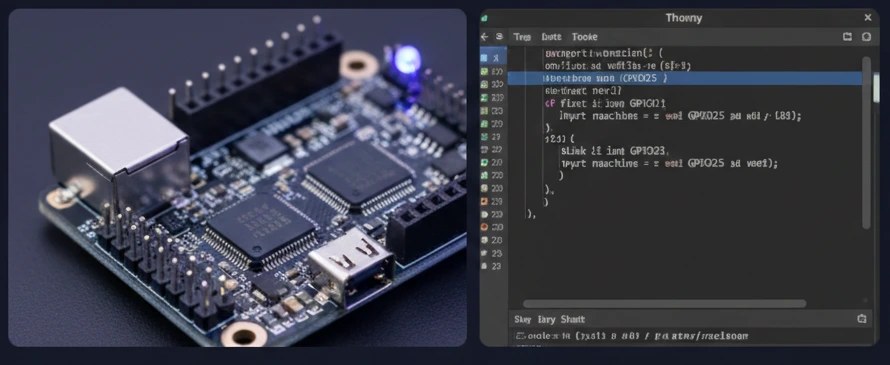
Open Thonny IDE, select “MicroPython (ESP32)” at the bottom-right interpreter settings. In the Shell, type:
print("Hello from ESP32-S3!")You should see the text reply immediately. That’s the power of the REPL!
Step 3: Blinking an LED
Let’s write a script to blink the onboard LED. Note: on many S3 boards (like the Espressif DevKit), the onboard LED might be an RGB NeoPixel (GPIO 48) or a regular LED (GPIO 13 or 21). Check your pinout!
Here is a standard blink for a regular LED on GPIO 2:
import machine
import time

# Configure GPIO 2 as an output
led = machine.Pin(2, machine.Pin.OUT)

while True:
    led.value(1)  # Turn On
    time.sleep(0.5)
    led.value(0)  # Turn Off
    time.sleep(0.5)
Step 4: Connecting to WiFi
The S3’s killer feature is connectivity. Connecting to WiFi is simple in MicroPython:
import network
import time

ssid = 'YOUR_WIFI_NAME'
password = 'YOUR_WIFI_PASSWORD'

wlan = network.WLAN(network.STA_IF)
wlan.active(True)
wlan.connect(ssid, password)

# Wait for connection
print("Connecting to WiFi...")
while not wlan.isconnected():
    time.sleep(0.5)
    print(".", end="")

print("\nConnected!")
print("IP Address:", wlan.ifconfig()[0])
Troubleshooting tips
- “Device busy” error: close any other serial monitors (like Arduino IDE) before opening Thonny.
- No COM port? make sure you have the CH340 or CP210x drivers installed, and that your USB cable carries data.
- Hard reset: if the board hangs, press the RST (Reset) button.