Introduction
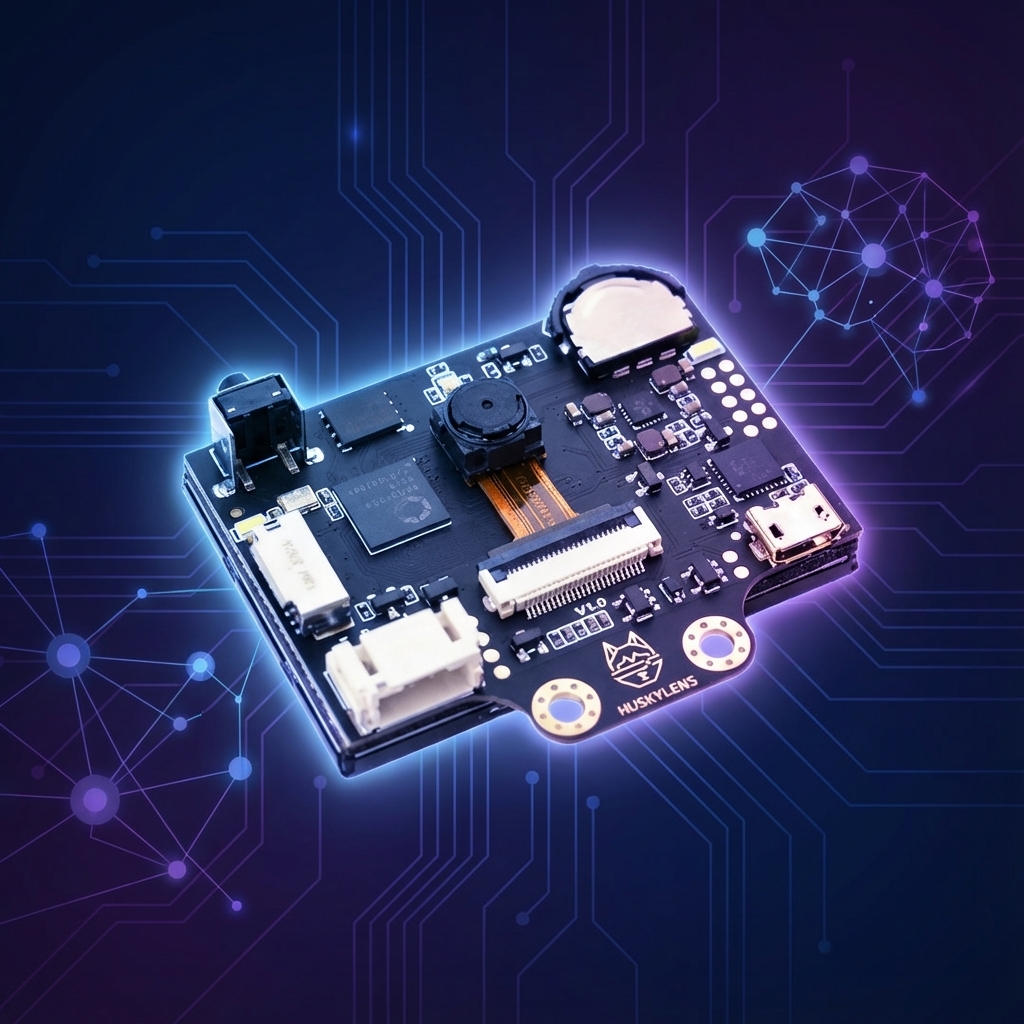
The HuskyLens is an AI-powered camera module developed by DFRobot that brings machine vision capabilities to makers, students, and hobbyists without requiring any AI or programming expertise. Think of it as “AI vision made easy” — a compact, self-contained sensor that can recognise faces, track objects, detect colours, follow lines, and identify tags, all processed onboard without needing a computer or cloud connection.
Unlike traditional camera modules that require complex image processing libraries and powerful processors, HuskyLens handles all the heavy lifting internally. It communicates simple, actionable data (object coordinates or recognition IDs) via UART or I²C, making it easy to integrate with Arduino, Raspberry Pi, micro:bit, and other microcontrollers.
Whether you’re building an autonomous robot, a smart security system, or an interactive art installation, HuskyLens eliminates the steep learning curve typically associated with computer vision projects.
1. Key features at a glance
Built-in AI processor
Kendryte K210 dual-core RISC-V with neural network accelerator.
2.0″ IPS display
Real-time preview with 320×240 resolution.
OV2640 camera
2 MP sensor with 60° field of view.
Multiple interfaces
UART, I²C, and USB connectivity.
Low power
Runs on 3.3 V–5 V, ~320 mA typical.
No coding to learn
Dial-and-button interface for on-device training.
Specifications
| Specification | Details |
|---|---|
| Processor | Kendryte K210 (64-bit RISC-V, 400 MHz) |
| Display | 2.0″ IPS LCD (320×240) |
| Camera | OV2640, 2 MP, 60° FOV |
| Communication | UART (9600–115200 bps), I²C (100–400 kHz) |
| Operating voltage | 3.3 V – 5 V |
| Current consumption | ~320 mA @ 3.3 V |
| Dimensions | 52 mm × 44.5 mm × 24 mm |
2. AI modes available
HuskyLens comes with seven built-in AI functions, each optimised for a different use case. You can switch between modes using the function button or through software commands.
3. Why HuskyLens is so popular
HuskyLens has become a favourite among educators, hobbyists, and even professionals for several compelling reasons:
- Zero AI knowledge required: you don’t need to understand neural networks, TensorFlow, or OpenCV. The AI is ready to use out of the box.
- On-device training: teach the camera to recognise new faces or objects by simply pressing a button — no computer needed.
- Instant integration: with official Arduino, Raspberry Pi, and micro:bit libraries, you can get data in minutes.
- Visual feedback: the built-in screen shows exactly what the camera sees and what it’s recognising, making debugging effortless.
- Affordable price point: at around $45–60 USD, it’s significantly cheaper than comparable vision systems.
- Educational value: perfect for STEM education — students can understand AI concepts through hands-on experimentation.
- Active community: DFRobot maintains excellent documentation, tutorials, and an active forum.
4. Practical project ideas
- Object-following robot: a robot that follows a specific object (like a ball or person) using object-tracking mode.
- Autonomous line-following car: use line-tracking mode to create a self-driving car that navigates along a track.
- Face-recognition door lock: a smart lock that only opens for recognised family members.
- Colour-sorting machine: a conveyor system that sorts objects by colour using servos and colour-recognition mode.
- Gesture-controlled game: track hand movements to control a game character or interface.
- Pan-tilt face tracker: mount HuskyLens on a pan-tilt kit to keep faces centred.
- Inventory management: use AprilTags to track items on shelves or in warehouses.
- Pet feeder: an automatic feeder that only dispenses food when it recognises your pet.
- Interactive art installation: artwork that responds differently based on who’s viewing it.
- Smart traffic light: detect cars or pedestrians and adjust signals accordingly.
5. Pros and cons
Pros
- Extremely beginner-friendly
- No cloud or internet required
- Built-in display for real-time feedback
- Multiple AI modes in one device
- On-device training (no PC needed)
- Works with Arduino, Pi, and micro:bit
- Excellent documentation
- Affordable for its capabilities
- Low power consumption
Cons
- Limited to built-in AI models (no custom training beyond classification)
- 60° FOV may be too narrow for some applications
- 2 MP camera resolution is modest
- Can only track one object at a time in tracking mode
- Performance drops in low light
- Face recognition limited to 20 faces
- No Wi-Fi or Bluetooth built-in
- Plastic housing feels less premium
6. Sample project: object-tracking turret
Let’s build a practical project — a pan-tilt turret that tracks and follows an object in real time. This is perfect for security cameras, laser pointers, or interactive displays.
Wiring
| HuskyLens pin | Arduino pin |
|---|---|
| T (TX) | Pin 10 (SoftwareSerial RX) |
| R (RX) | Pin 11 (SoftwareSerial TX) |
| − (GND) | GND |
| + (VCC) | 5 V |
| Servo | Arduino pin |
| Pan servo (signal) | Pin 9 |
| Tilt servo (signal) | Pin 8 |
Arduino sketch
/*
 * HuskyLens Object Tracking Turret
 *
 * This project uses HuskyLens in Object Tracking mode
 * to control a pan-tilt servo system that follows
 * a learned object in real-time.
 *
 * Hardware: Arduino Uno + HuskyLens + 2x Servos
 */

#include "HUSKYLENS.h"
#include "SoftwareSerial.h"
#include <Servo.h>

// HuskyLens Communication
SoftwareSerial huskySerial(10, 11); // RX, TX
HUSKYLENS huskylens;

// Servo Configuration
Servo panServo;   // Horizontal rotation
Servo tiltServo;  // Vertical rotation

const int PAN_PIN = 9;
const int TILT_PIN = 8;

// Screen center (HuskyLens resolution: 320x240)
const int SCREEN_CENTER_X = 160;
const int SCREEN_CENTER_Y = 120;

// Servo angle limits
const int PAN_MIN = 10;
const int PAN_MAX = 170;
const int TILT_MIN = 30;
const int TILT_MAX = 150;

// Current servo positions (start centered)
int panAngle = 90;
int tiltAngle = 90;

// Tracking sensitivity (higher = less responsive)
const int DEAD_ZONE = 15;        // Ignore small movements
const float SPEED_FACTOR = 0.15; // Movement speed (0.1-0.3 recommended)

void setup() {
    Serial.begin(115200);
    huskySerial.begin(9600);

    // Initialize servos
    panServo.attach(PAN_PIN);
    tiltServo.attach(TILT_PIN);

    // Move to center position
    panServo.write(panAngle);
    tiltServo.write(tiltAngle);
    delay(500);

    // Initialize HuskyLens
    Serial.println("Initializing HuskyLens...");

    while (!huskylens.begin(huskySerial)) {
        Serial.println("HuskyLens not found! Check wiring.");
        delay(1000);
    }

    Serial.println("HuskyLens connected!");

    // Switch to Object Tracking mode
    huskylens.writeAlgorithm(ALGORITHM_OBJECT_TRACKING);
    Serial.println("Mode: Object Tracking");
    Serial.println("Point at an object and press the LEARN button on HuskyLens");
}

void loop() {
    if (!huskylens.request()) {
        // No data available
        return;
    }

    if (!huskylens.isLearned()) {
        Serial.println("No object learned yet!");
        delay(500);
        return;
    }

    if (!huskylens.available()) {
        // Object not currently visible
        Serial.println("Object lost...");
        return;
    }

    // Get the tracked object data
    HUSKYLENSResult result = huskylens.read();

    if (result.command == COMMAND_RETURN_BLOCK) {
        // Calculate error from center
        int errorX = result.xCenter - SCREEN_CENTER_X;
        int errorY = result.yCenter - SCREEN_CENTER_Y;

        // Debug output
        Serial.print("Object at X:");
        Serial.print(result.xCenter);
        Serial.print(" Y:");
        Serial.print(result.yCenter);
        Serial.print(" | Error X:");
        Serial.print(errorX);
        Serial.print(" Y:");
        Serial.println(errorY);

        // Only move if error exceeds dead zone
        if (abs(errorX) > DEAD_ZONE) {
            // Invert X direction (camera mirror effect)
            panAngle -= errorX * SPEED_FACTOR;
            panAngle = constrain(panAngle, PAN_MIN, PAN_MAX);
        }

        if (abs(errorY) > DEAD_ZONE) {
            tiltAngle += errorY * SPEED_FACTOR;
            tiltAngle = constrain(tiltAngle, TILT_MIN, TILT_MAX);
        }

        // Move servos
        panServo.write(panAngle);
        tiltServo.write(tiltAngle);
    }

    delay(20); // Small delay for servo stability
}
How it works
- HuskyLens continuously sends the tracked object’s centre coordinates (X, Y).
- Arduino calculates the difference between object position and screen centre.
- If the error exceeds the dead zone, servos adjust proportionally.
- The loop runs ~50 times per second for smooth tracking.